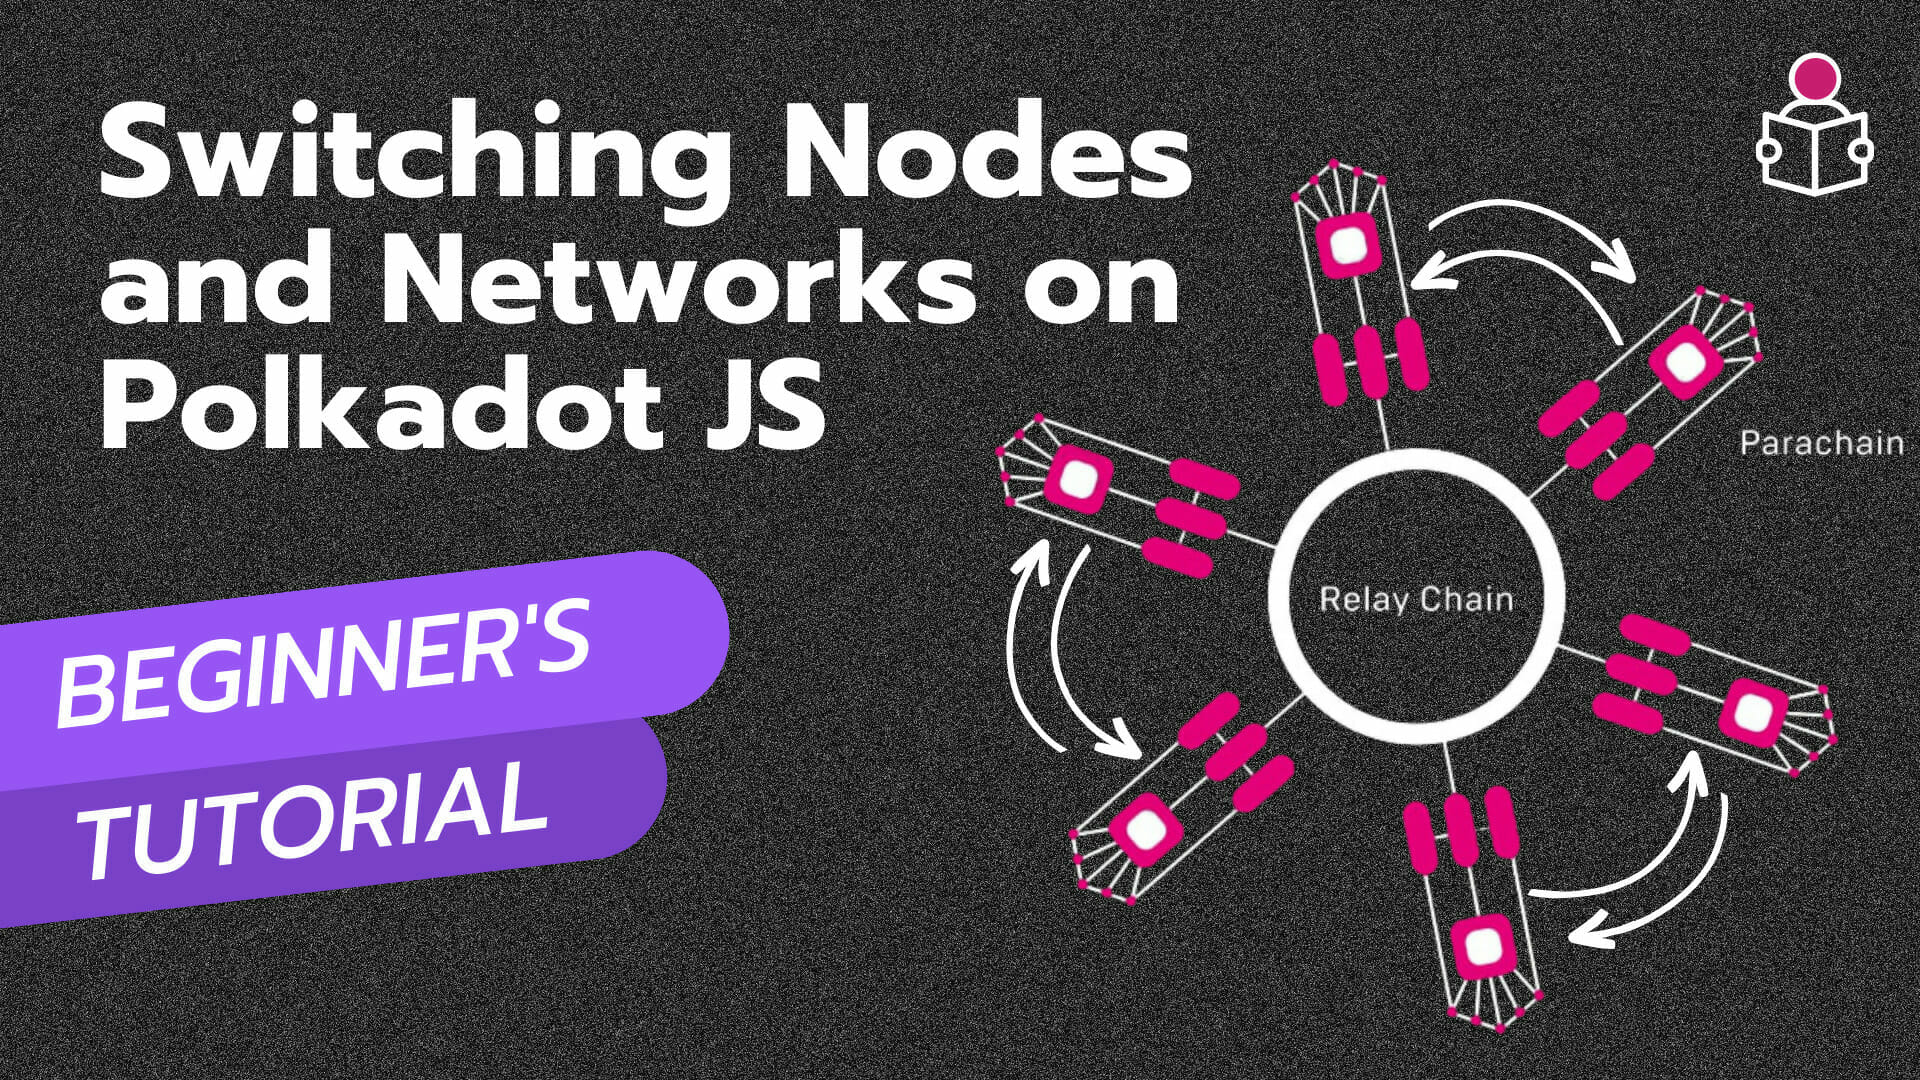
In the world of blockchain networks like Polkadot and Kusama, connecting to nodes plays a crucial role in accessing on-chain information and facilitating network interactions. However, occasional connection issues may arise, necessitating a seamless switch to an alternative node with similar functionalities. In this blog post, we will guide you through the process of effortlessly switching nodes and networks using the Polkadot JS UI.
Understanding Polkadot JS UI
Polkadot JS UI offers a user-friendly interface, and by default, it opens on the Network tab. Here, you can find details such as the current network, chain information, block details, and more. Clicking on the current network allows you to explore the available nodes. It’s worth noting that we have previously discussed RPC nodes in our past videos.
Exploring Multiple Nodes
Polkadot is a network consisting of multiple RPC nodes, which we can connect to using Polkadot JS UI to fetch data from the chain. You have the freedom to choose and connect to any of these nodes, or even connect to a node you have created yourself. Additionally, there is the Light Client (experimental) node available on the Polkadot JS UI. This node enables users to connect to the Polkadot network without the need to download or store a full blockchain copy. It proves beneficial for users with limited storage or computational resources or those who seek quick connections without syncing a large amount of data. These nodes collectively offer diverse options for users.
The Significance of Multiple Nodes
The availability of numerous nodes on Polkadot JS UI serves multiple purposes, including redundancy, performance improvement, and network reliability. Each node is run by different entities or organisations, possessing unique characteristics such as geographical location, computational power, and network connectivity.
The presence of multiple nodes allows the Polkadot network to function efficiently by distributing the workload and reducing the risk of network failure. If one node goes offline or experiences issues, the network remains functional due to the presence of other nodes. Moreover, nodes located in different geographical locations enhance network speed and responsiveness, enabling users to connect to the node closest to them.
Switching Nodes on Polkadot JS UI
Now, let’s dive into the process of switching nodes on the Polkadot JS UI. If you encounter connection issues or face problems while conducting transactions on the Polkadot JS UI, you can switch nodes to retry the operation.
Switching Nodes:
To switch nodes, visit the Polkadot JS UI page and click on the current network displayed in the top left corner. A list of available nodes hosted by different entities will appear. From here, select the desired node and click on the “Switch” button.
Switching Networks:
Similarly, you can switch to a different network using the same panel. Let’s say we want to switch from Polkadot to Kusama network. Click on the current network in the top left corner and collapse the nodes list to view the available networks. Choose Kusama as the network you wish to switch to. It’s important to note that the selection of nodes within the network doesn’t matter since they all provide the same functionalities. Only switch network nodes if you are experiencing issues. Finally, click the “Switch” button, and you will be redirected to the Kusama network, where you can perform transactions, stake tokens, study the network, and more. You can switch back to the Polkadot network or explore other networks as per your preferences.
Conclusion
Switching nodes and networks using the Polkadot JS UI is a straightforward and convenient task. If you have any queries related to nodes or any other aspect, feel free to mention them in the comment box or contact us via email at [email protected].
FAQ’s (Frequently Asked Questions)
Q: What are nodes on Polkadot JS UI?
Nodes on Polkadot JS UI are RPC nodes and the Light Client (Experimental) node that connect to the Polkadot blockchain to fetch data and facilitate network interactions.
Q: Why are multiple nodes important on Polkadot JS UI?
Multiple nodes on Polkadot JS UI provide redundancy, improve performance and network reliability, and distribute the workload.
Q: How can users switch nodes on Polkadot JS UI?
Users can switch nodes on Polkadot JS UI by clicking on the Current Network panel and selecting a different node from the available options.
Q: How can users switch networks on Polkadot JS UI?
Users can switch networks on Polkadot JS UI by using the same panel and selecting a different network from the available options.

